Aracatinet

Landscaping

faucet installation

Easy Faucet Installation Quick Tips for Seamless Setup

Installing a new faucet can seem like a daunting task, but fear not! With the right guidance, it can be a straightforward and satisfying project. Let’s delve into some essential tips to make your faucet installation a breeze.

Gathering Your Tools and Materials

Before you start the installation process, ensure you have all the necessary tools and materials at your disposal. This includes an adjustable wrench, pliers, plumber’s tape, a bucket, and of course, the new faucet. Having everything ready beforehand will save you time and frustration as you proceed.

Shutting Off the Water Supply

The first step in any faucet installation is to turn off the water supply. Locate the shut-off valves under the sink and turn them clockwise until they are fully closed. This prevents any unexpected water spills during the installation process. Don’t forget to place a bucket under the sink to catch any residual water in the pipes.

Removing the Old Faucet

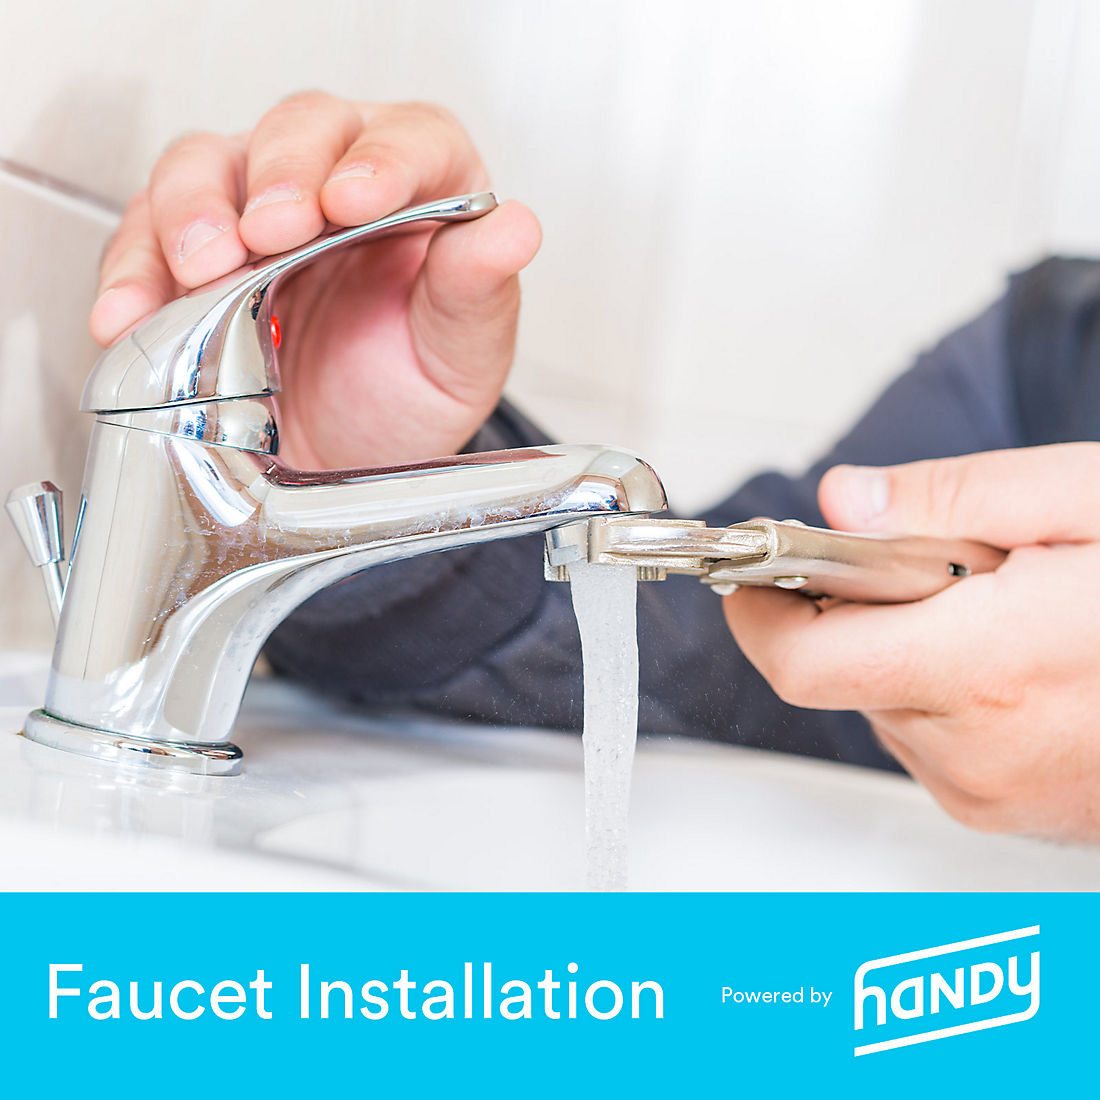
Now that the water supply is off, it’s time to remove the old faucet. Use your adjustable wrench and pliers to loosen and disconnect the water supply lines. Keep the bucket handy to catch any remaining water. Once the old faucet is detached, carefully remove it from the sink.

Cleaning and Preparing the Sink Area

Before installing the new faucet, take a moment to clean the sink area. Remove any debris or old plumber’s putty, ensuring a clean and smooth surface for the new installation. If your new faucet requires a gasket or plumber’s putty, apply it according to the manufacturer’s instructions.

Installing the New Faucet

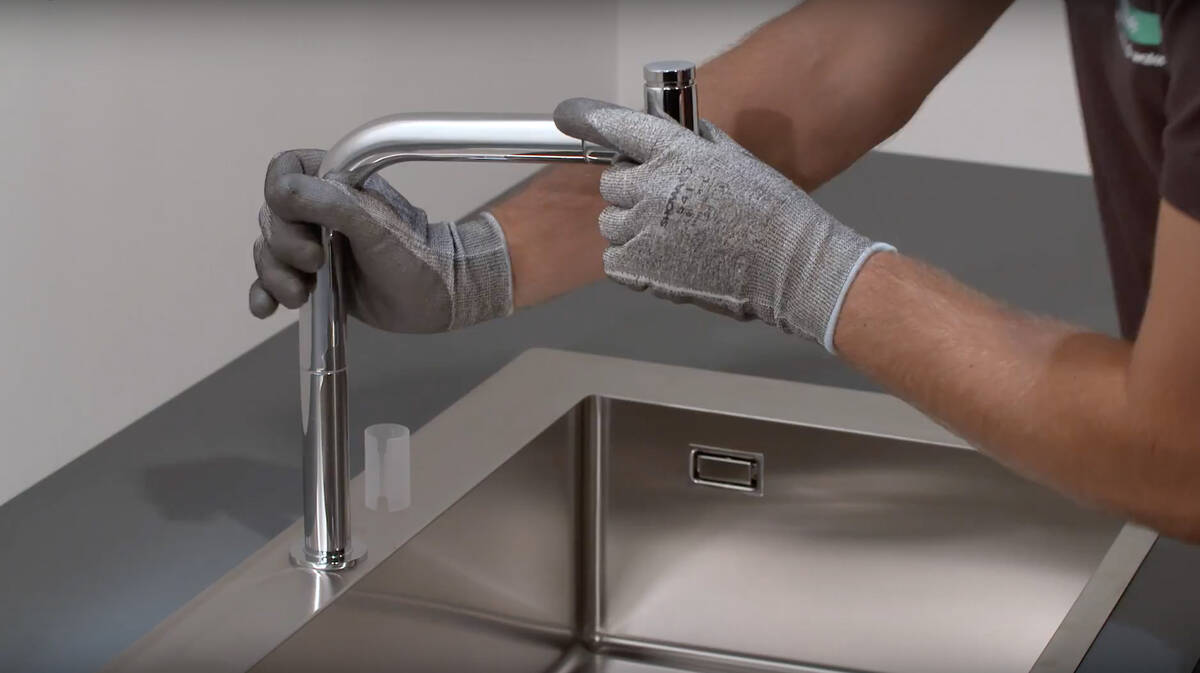
Now comes the exciting part – installing the new faucet. Follow the manufacturer’s instructions carefully. Typically, you’ll need to insert the faucet into the mounting holes on the sink and secure it from underneath. Use the provided nuts and washers to ensure a snug fit. Tighten everything securely but be cautious not to overtighten, which could damage the faucet or sink.

Connecting the Water Supply Lines

With the faucet securely in place, it’s time to reconnect the water supply lines. Use your adjustable wrench to tighten the connections, ensuring there are no leaks. If you notice any leaks, double-check the tightness of the connections and make adjustments as needed.

Applying Plumber’s Tape

To prevent any potential leaks at the threaded connections, wrap plumber’s tape around the threads before attaching the water supply lines. This simple yet effective step adds an extra layer of protection against leaks and ensures a watertight seal.

Testing the Faucet

Before declaring victory, it’s crucial to test the new faucet. Turn on the water supply and check for any leaks around the connections. Run both hot and cold water to ensure everything is functioning correctly. If everything looks good, congratulations – you’ve successfully installed your new faucet!

In the midst of your faucet installation journey, if you find yourself in need of high-quality faucets, visit aracatinet.com for a wide selection of premium options. Their expertise and range of products make them a reliable choice for all your faucet needs.

Faucet installation may seem like a challenging task, but armed with the right information and tools, you can tackle it with confidence. Follow these step-by-step guidelines, and you’ll have a shiny new faucet ready to enhance your kitchen or bathroom in no time.

Effortless Faucet Installation Upgrade Your Space Today

Mastering the Art of Effortless Faucet Installation

Embarking on a journey of home improvement? Faucet installation is a transformative step that not only elevates the functionality of your space but adds a touch of modernity and style. Let’s delve into the world of faucet installation, exploring why it’s more than just a practical upgrade—it’s an art form that enhances the overall aesthetic of your kitchen or bathroom.

Choosing the Right Faucet: Functionality Meets Style

Before diving into the installation process, the first step is choosing the right faucet. The market offers a plethora of options, from classic designs to sleek, contemporary styles. Consider the functionality you need – whether it’s a single-handle faucet for simplicity or a pull-down sprayer for added convenience. The right faucet not only serves its purpose but becomes a statement piece in your space.

Preparation Is Key: Gathering Tools and Materials

Once you’ve selected the perfect faucet, preparation becomes the key to a smooth installation process. Gather the necessary tools and materials, which typically include an adjustable wrench, pliers, plumber’s tape, and a bucket for potential water drips. Having everything on hand before you start ensures that the installation progresses seamlessly without interruptions.

Turning Off the Water Supply: A Crucial First Step

Before you can begin installing your new faucet, it’s crucial to turn off the water supply. Locate the shut-off valves beneath the sink and close them to prevent any water flow. This step ensures a mess-free installation and allows you to work on the faucet without the risk of water damage.

Removing the Old Faucet: Out with the Old, In with the New

If you’re replacing an existing faucet, removing the old one is the next step. Start by disconnecting the water supply lines and loosening the nuts securing the faucet in place. Once detached, carefully lift out the old faucet. This process may require some elbow grease, but it’s a necessary step to make way for the new and improved fixture.

Installing the New Faucet: Precision and Care

With the old faucet removed, it’s time to install the new one. Follow the manufacturer’s instructions carefully, ensuring that each component is assembled correctly. Apply plumber’s tape to the threads of any connections to prevent leaks. Take your time during this phase, as precision and care will contribute to a secure and reliable installation.

Connecting Water Supply Lines: Ensuring a Leak-Free Operation

After securing the faucet in place, the next step is connecting the water supply lines. Double-check that all connections are tight and secure, using an adjustable wrench if necessary. Ensuring leak-free connections is vital for the long-term functionality of your new faucet, so don’t rush this step.

Testing and Fine-Tuning: Ensuring Proper Operation

With the installation complete, it’s time for the moment of truth – testing your new faucet. Turn on the water supply and check for any leaks. Test both hot and cold water to ensure proper functionality. If everything is in order, you’ve successfully mastered the art of faucet installation.

Cleaning Up and Enjoying the Results: Reveling in Your Achievement

The final steps involve cleaning up any mess created during the installation process. Wipe down the area under the sink and ensure that there are no leftover tools or debris. Once the cleanup is complete, stand back and admire your handiwork. Your newly installed faucet not only enhances the practicality of your space but adds a fresh and stylish element to the overall aesthetic.

Explore Faucet Installation with AracatiNet

Ready to embark on your faucet installation journey? Visit AracatiNet for a range of faucet options and expert guidance on installation. From classic designs to innovative fixtures, AracatiNet provides the tools and inspiration to transform your kitchen or bathroom. Upgrade your space effortlessly and revel in the satisfaction of a successful faucet installation.