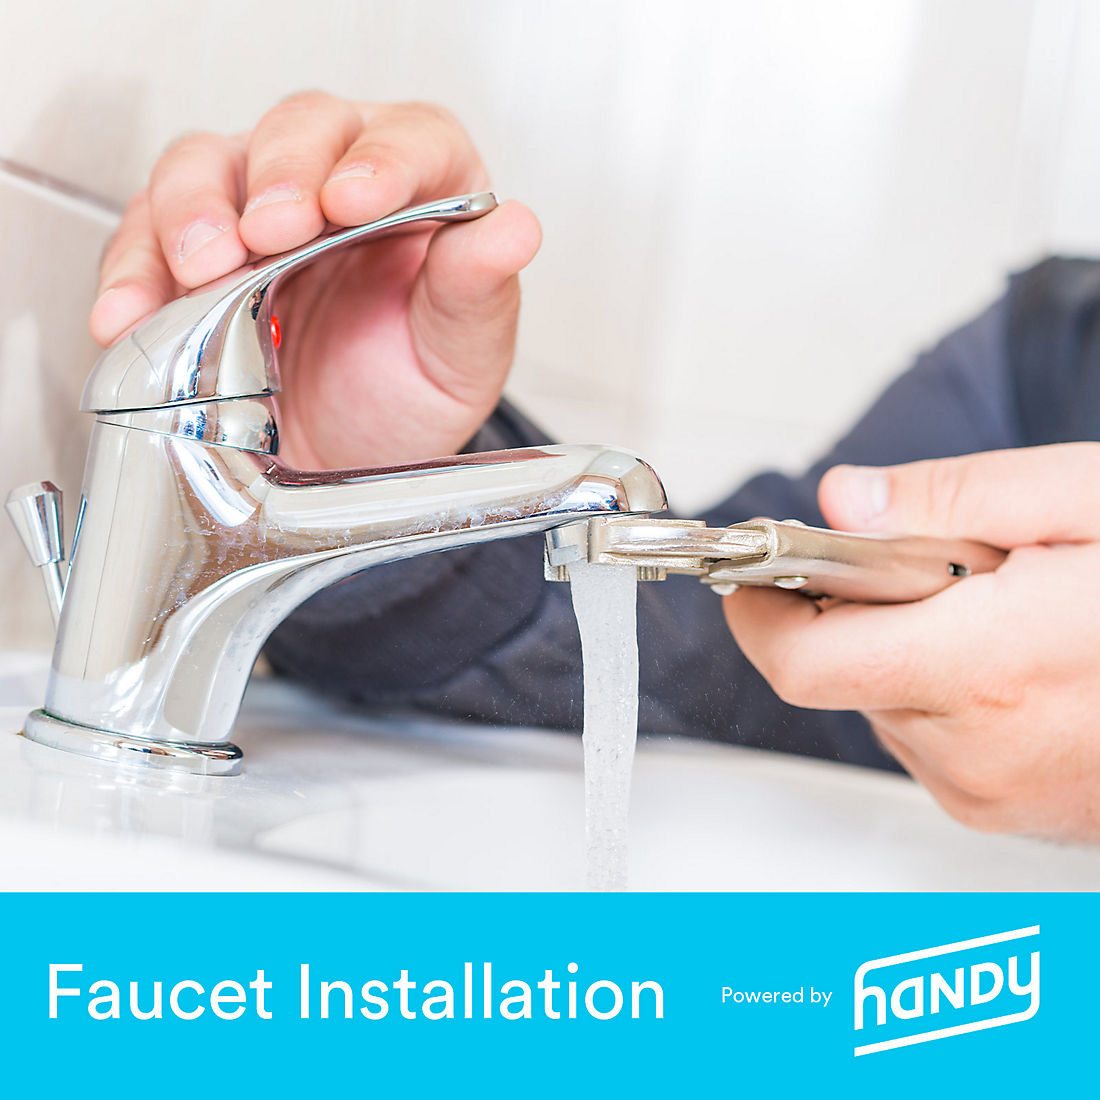
Easy Faucet Installation Quick Tips for Seamless Setup
Installing a new faucet can seem like a daunting task, but fear not! With the right guidance, it can be a straightforward and satisfying project. Let’s delve into some essential tips to make your faucet installation a breeze.
Gathering Your Tools and Materials
Before you start the installation process, ensure you have all the necessary tools and materials at your disposal. This includes an adjustable wrench, pliers, plumber’s tape, a bucket, and of course, the new faucet. Having everything ready beforehand will save you time and frustration as you proceed.
Shutting Off the Water Supply
The first step in any faucet installation is to turn off the water supply. Locate the shut-off valves under the sink and turn them clockwise until they are fully closed. This prevents any unexpected water spills during the installation process. Don’t forget to place a bucket under the sink to catch any residual water in the pipes.
Removing the Old Faucet
Now that the water supply is off, it’s time to remove the old faucet. Use your adjustable wrench and pliers to loosen and disconnect the water supply lines. Keep the bucket handy to catch any remaining water. Once the old faucet is detached, carefully remove it from the sink.
Cleaning and Preparing the Sink Area
Before installing the new faucet, take a moment to clean the sink area. Remove any debris or old plumber’s putty, ensuring a clean and smooth surface for the new installation. If your new faucet requires a gasket or plumber’s putty, apply it according to the manufacturer’s instructions.
Installing the New Faucet
Now comes the exciting part – installing the new faucet. Follow the manufacturer’s instructions carefully. Typically, you’ll need to insert the faucet into the mounting holes on the sink and secure it from underneath. Use the provided nuts and washers to ensure a snug fit. Tighten everything securely but be cautious not to overtighten, which could damage the faucet or sink.
Connecting the Water Supply Lines
With the faucet securely in place, it’s time to reconnect the water supply lines. Use your adjustable wrench to tighten the connections, ensuring there are no leaks. If you notice any leaks, double-check the tightness of the connections and make adjustments as needed.
Applying Plumber’s Tape
To prevent any potential leaks at the threaded connections, wrap plumber’s tape around the threads before attaching the water supply lines. This simple yet effective step adds an extra layer of protection against leaks and ensures a watertight seal.
Testing the Faucet
Before declaring victory, it’s crucial to test the new faucet. Turn on the water supply and check for any leaks around the connections. Run both hot and cold water to ensure everything is functioning correctly. If everything looks good, congratulations – you’ve successfully installed your new faucet!
In the midst of your faucet installation journey, if you find yourself in need of high-quality faucets, visit aracatinet.com for a wide selection of premium options. Their expertise and range of products make them a reliable choice for all your faucet needs.
Faucet installation may seem like a challenging task, but armed with the right information and tools, you can tackle it with confidence. Follow these step-by-step guidelines, and you’ll have a shiny new faucet ready to enhance your kitchen or bathroom in no time.

